Showing posts with label craftyness. Show all posts

Friday, June 29, 2012

BAM! Crafting Again!

If you didn't know, I am pregnant. 
With my fourth baby boy!
And even though I was in  pretty good shape before this pregnancy, it still drains me.
I usually spend most of my energy trying to keep my house up and taking care of my other boys.

As I enter my third trimester I found some extra energy.
Maybe it is making my children actually help with some of the chores I wouldn't normally ask them to do.
Maybe the baby has decided not to take all the energy.
Or maybe I just know I don't have that much longer in my pregnancy.
Either way, I am fine with it! :)

So I dug into the chaos of my new craft room.  (I will have to show you a picture sometime.)
I got out some paint and the mod podge and made something purdy!!!!


Kinda last minute on the whole Fourth of July thing.  Good thing in Utah we have something called the 24th of July.  It is celebration of when the pioneers came into Utah.  So I have a good excuse to leave all the flag flying goodness up!

Here is a close up!

So I hope this energy continues and I will start to feel like myself again!
Also I would LOVE to actually show you what I have been doing to our new home!


Sunday, January 22, 2012

Valentine's Wreath {Tutorial}

Valentine's day is such a cutesy holiday.
With all it's lovey dovey non sense.
If you can't tell I am not really the 'romantic' type.
I don't like getting fancy jewelry.
I don't care of covered chocolates.
I enjoy getting flowers, 
but I would much rather them come out of the blue than a holiday where it's is expected.

We have been anxiously awaiting hearing about a short sale we have an offer on.
I have kind been ehhh I don't want to decorate in our rental anymore.
I kinda got sad.
I got to thinking about how this will be our last January here.
Our last Valentines in this house we have called home for almost 4 years.
Decided to kick myself in the butt and made something.

This is what I made for the last Valentine's wreath that will hang on the ugly rental door!!
Made out of love and coffee filters!
Here is the quick how to:

Supplies needed:
Package of coffee filters
Food coloring
Baking sheet
Glue gun and glue
Wreath form.
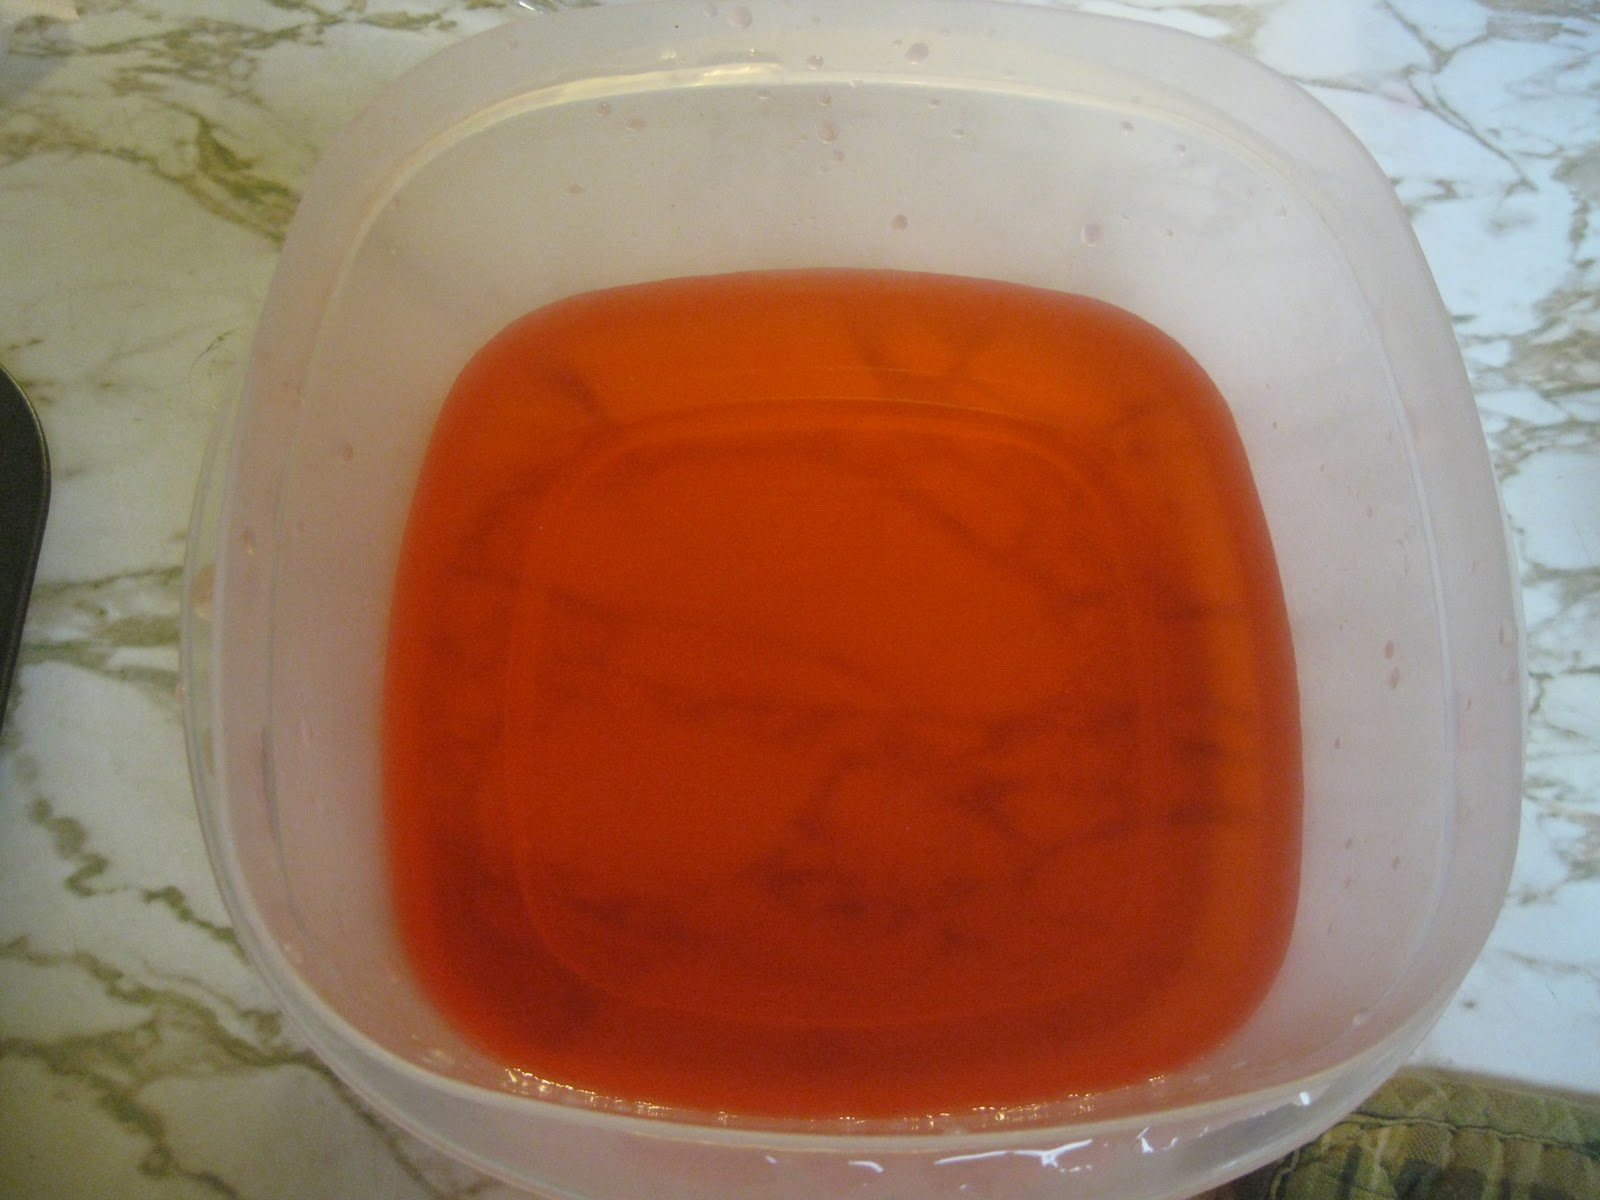
First put a couple of drops of food coloring in a bowl and fill with water.
It looks kind of orange.
I did this at night and the lighting in our rental is baaaaaddddd!
Submerge coffee filter into water.
Squeeze out the excess water.
Place on baking sheet.
Repeat until your baking sheet just can't take anymore!
I set my oven to 350 degrees and baked them for about 5 minutes.
Then repeat, repeat, repeat!!!
Once you have enough coffee filters dyed and baked (I don't know how many I lost count)
Get out wreath form and glue gun and glue filters to the wreath.
Oh my cutesy!!!

Oh AND in case you didn't hear!  I have entered to win a free ticket to SNAP the Conference!
I would REALLY appreciate it if you would vote for me!
Click here and I am link number 14!!!
Thanks a bunch lovely!

I will be linking this project to these ROCKING parties!

Sunday, December 18, 2011

{Homemade Stockings}

 Christmas is in a week!
I hate how fast this month seems to go by.
Especially since SSG has been on leave.
It makes me sad he will have to go back to work.
Such is life though!

If You didn't know I bought a sewing machine last November, (a year ago) with no idea how to use it.
I just told myself I was going to learn how to sew.
It is something I have always wanted to do.
With a little MUCH help from my friend Thais.
I can proudly say, yes I can sew.
Not like fancy dresses or anything. 
I am not that talented.
I can however make my very own homemade stockings.
 It is pretty nice that I have matching ones now.
REALLY nice that they are not dollar store crappy ones too.
Stockings are terribly expensive to me.
I used freezer paper stencils to put the names on.
Have you ever done it?
If not and want to learn I will be happy to post a tutorial on it.
It is really easy!
I cannot wait to fill these stockings!


Find me linking HERE.


Tuesday, December 6, 2011

Ooooo a tree skirt!

 Everyone has seen this pin on Pinterest.
The beautiful ruffle, no sew, too good to be true 
tree skirt.
Look at it, in it's beauty!
When I pinned this I thought 'Hey!  I can do that'
I have TONS of glue sticks just hanging out ready to find a purpose.
So I went out bought myself some muslin and got to cutting.
Cutting was the easiest part.
By far!
But I labored...
I hurt my fingers by squeezing the glue gun.
I cursed (shhhh don't tell anyone)
Then luckily one of my bestest friends came to help me!
I love that girl!
This is the result!
 It really is quite pretty.
And well worth it!
Maybe next year I will try it in a different color!


  • Tighten logic with malleable spanners

Sunday, December 4, 2011

Christmas Wreath

 This was my inspiration for my wreath this year.
Maybe I should say Pin-spiration!
Yes, I saw this on none other than the all mighty Pinterest!

This is my version.
 I had never done a yarn wreath before.
And honestly...
I doubt very highly I will do another.
They are HARD!
For me anyway.
I tried to do the candy cane effect.
But after an hour of trying to get it to look right I gave up.
And just wrapped it all in red.
laaaaaaazzzzzzyyyyyy!
I got the picks from Hobby Lobby.
And the snowflakes?
Ornaments I have had for a few years.
So pretty on my door!

Well I need to go get prepared for another BIG storm here in Utah.
Make sure we have candles ready, in case power goes out again.

Linking HERE

Tuesday, November 29, 2011

Homemade Gift Exchange

 This year I decided to participate in Craftaholics Anonymous gift exchange.
For those who don't know, I signed up and by randomness I receive a partner to make a gift for and send it to them.
Really FUN!

I was kinda at a loss of what to make for my partner.
I am much better at making things for people I know.
I like to make things I know they will love and appericate!
Luckily for me I have two awesome friends who just taught me how to crochet.
I am sure they wanted to tear their hair out while teaching me though.
We also had a few laughs at the way I was holding my yarn!
But in the end I learned how to do it.
 Then it dawned on me!
What girl doesn't love something pretty to put in their hair?
So I made my partner a couple of these cute and simple hairbands.
Adds a little something to any outfit.  
I think so anyway!
This wasn't the actual one I made for her.
I of course made a few for myself!

Linking up to:

Sunday, November 27, 2011

{Joy} Bottles

I am back from Thanksgiving vacation!
And even though I enjoy getting away and seeing my family.
It feels so good to be home!

Now I have seen these bottles floating around pinterest for a while.
The links I have found were all for Fall.  
(not saying there isn't winter ones out there)
So I did my own twist on these bottles.
I really like the snowflake hanging out there.
I got the green things from Hobby Lobby when they were on sale.
I think in like October.
The are pretty simple to make.
All you will need is a few empty bottles.
You could probably even do it with vases found at a thrift shop.
Spray Paint
And whatever your hear desires to go into it.
I attached the joy with vinyl cut out with my handy Silhouette machine {heart}.
If I hadn't of procrastinated on the project it could have been done in a day.
(That is with drying time)
But for some reason I dragged my feet.
And it took me like a week to finish it.
A tree skirt got in the way.
I will show ya that this week!

And as always find me linking to these fantastic parties!

Monday, November 14, 2011

Jingle Bell

 I get excited for Christmas.
It takes you back to being a kid and magic is in the air.
Now that I have become a parent I love seeing how excited my kids get about it.
My middle child has gotten the concept of Santa this year.
He pointed to the fireplace and asked if Santa was going to come down there.
He also said Santa was going to bring him a dinosaur.
I hope he doesn't think it will be a REAL dinosaur.
Cause Santa can't bring that!!!

I have gotten a little ahead of myself this year.
Just because there are SO many projects I want to do.
  I feel like there will not be enough time to do them all!
So this is one of my first projects of many I hope!
I got the letters from 'The Wood Connection'
I really wish they would start shipping again!
My favorite part is the jingle bell inside the center of the 'O'
So sweet.

Wanna know where I party?
Click HERE

Friday, November 11, 2011

Fall Centerpiece and a WINNER!

I made this centerpiece for a church function I went to the other night.
I love how simple it is.
Just a package of cranberries and a bundle of wheat.

I am very excited to announce the winner of my very first giveaway!
 There were 30 entries and I got the number from Random.org.
The winning comment is number 5!
Which is:
Chrissy from Boerman Ramblings!
Email me so I can get this off to you!

A big THANK YOU to everyone who entered!
I will be having another giveaway soon!

Monday, November 7, 2011

{Baby, It's Cold Outside}

It snowed for the first time in Utah on Saturday.
Well snow in the valley anyway.
I have mixed feelings about snow.
I like it when it is falling.
But it can pretty much get lost after that.
Oh and it hardly ever snows on Christmas.
So after the snow has fallen in Utah it usually just stays in the mountains.
And brings in freezing winds.
And I do mean FREEZING winds!
I have been coveting scarfs on Pinterest lately.
And found a tutorial from Pink Lemonade.
It was easy for a beginner sewer such as myself.
I made it in about 10 minutes.
Including CUTTING!
My neck won't be cold this winter!
I am going to make more in different colors.
I love me some ruffles!

As always you can find me linking here.

Friday, November 4, 2011

{Giveaway Time}

Giveaway Closed!  

I am excited to do my very first  GIVEAWAY! 
This is what you are getting!
Cute right???
One lucky reader will win the whole kit!
Included:
Trees with stands
Paper
And Ribbon!
Cute, right?
I will even include some jingle bells..
Just because I like you that much!
Want to know how you can win?
It's pretty simple.
Just be a public follower of my blog
and "like" Mandi Being Crafty on Facebook!
For an extra credit entry, share this giveaway with your friends via Facebook or Blog!
That's it!
Be sure to leave a separate comment for each entry.
Giveaway will end November 11th!
Good luck!

Tuesday, November 1, 2011

Baby Gift

 As you probably already know I am not blessed with a girl.
As I am typing this right now 'Monster' is climbing all over me.
Oh the joy of boys.
So whenever I find out someone is having a girl I jump on the opportunity of making things.
I made these for a new mommy in our church.

 Baby shoes to keep little toes warm.
 I really like the pink flower fabric!!!
I made her three sets of shoes, bibs, and burp cloths.

Monday, October 31, 2011

{Pumpkins}

This past week has been CRAZY!
I haven't been feeling good.  
I think I am getting a sinus infection.
Getting costumes ready for Halloween.
And then Halloween parties themselves.
So my crafting has been lacking.
So I will just show you today what I have painted from one of my favorite stores.
The Wood Connection.

They were painted and then mod podged with scrapbook paper.

And as always you can find me linking to these parties.

Monday, October 24, 2011

Fall Wreath {Tutorial}

Halloween will be here in a week!
That is crazy talk!!!
October just started!
This means Christmas has snuck up on me yet again.
Even though it is the same day of the year every year.
So I am going to put that out of my head for a minute and focus on Thanksgiving/Fall.
Fall is my favorite season.
It is so pretty out and the weather usually isn't too bad.
I bought those leaves at a store called 'Wood Creations' here in Utah.
But I wanted a wreath too.
I combined the two and this is what I came up with.
This is my how to on the wreath only.
The leaves can only be bought if you live in Utah.
They don't ship yet since they are a new business.
Maybe one day right???

The How To:
Supplies needed:
Felt 1 yard
Muslin 1 yard
Cardboard
Hot glue and lots of glue sticks
Sewing Machine
Scissors

 First cut your felt into about 4 inch strips.  
Cut some muslin into 3 inch strips.
Then some more felt at 2 inch strips.
You don't have to be too precise on the cut.
 Break out the sewing machine and using a basting stitch sew all the way down.  
You don't have to back stitch on one end.
Take the bottom thread and make a ruffle to your liking.
Repeat with all your strips.
 Using your cardboard make yourself a wreath form.  
Cut some of your muslin into strips.
 Dab some hot glue down and start wrapping the cardboard to cover it.
You could certainly just paint the cardboard.
 All wrapped and ready for some ruffles!
Before you start gluing lay out your ruffles to make sure you have them the way you want them.
 Then simply just glue in the center and press down.
Repeat.
 First layer done.

 Next do the same with the muslin.  
Using hot glue down the center and pressing down.
And of course the same for the last layer of felt.
And there you have it!

And as always I link to these parties

Friday, October 21, 2011

Bean Bag Toss {last Halloween craft}

Today I am going to show you what I made for my kiddos!
It is a home made BEAN BAG TOSS!

Supplies you will need:
Fabric
Beans 
Sewing machine
A couple of buckets
Scissors or rotary blade
Iron
 Here are the supplies!
 Cut three rectangles that are 6 inches wide and 10 inches in length
 Turn inside out and sew all the way around. 
Leaving a gap to pour the beans in.
 Cut your corners,
turn right side out, 
and press with iron.  
Then fill with beans.
 This was a little tricky, I was too lazy to hand stitch this closed.  
So I just pushed all the beans to the side and sewed all the way down the seam.
 Repeat!
Then you have your very own game of bean bag toss!

Wednesday, October 19, 2011

My Halloween Front Porch

I finally finished my front porch last night adding pumpkins.
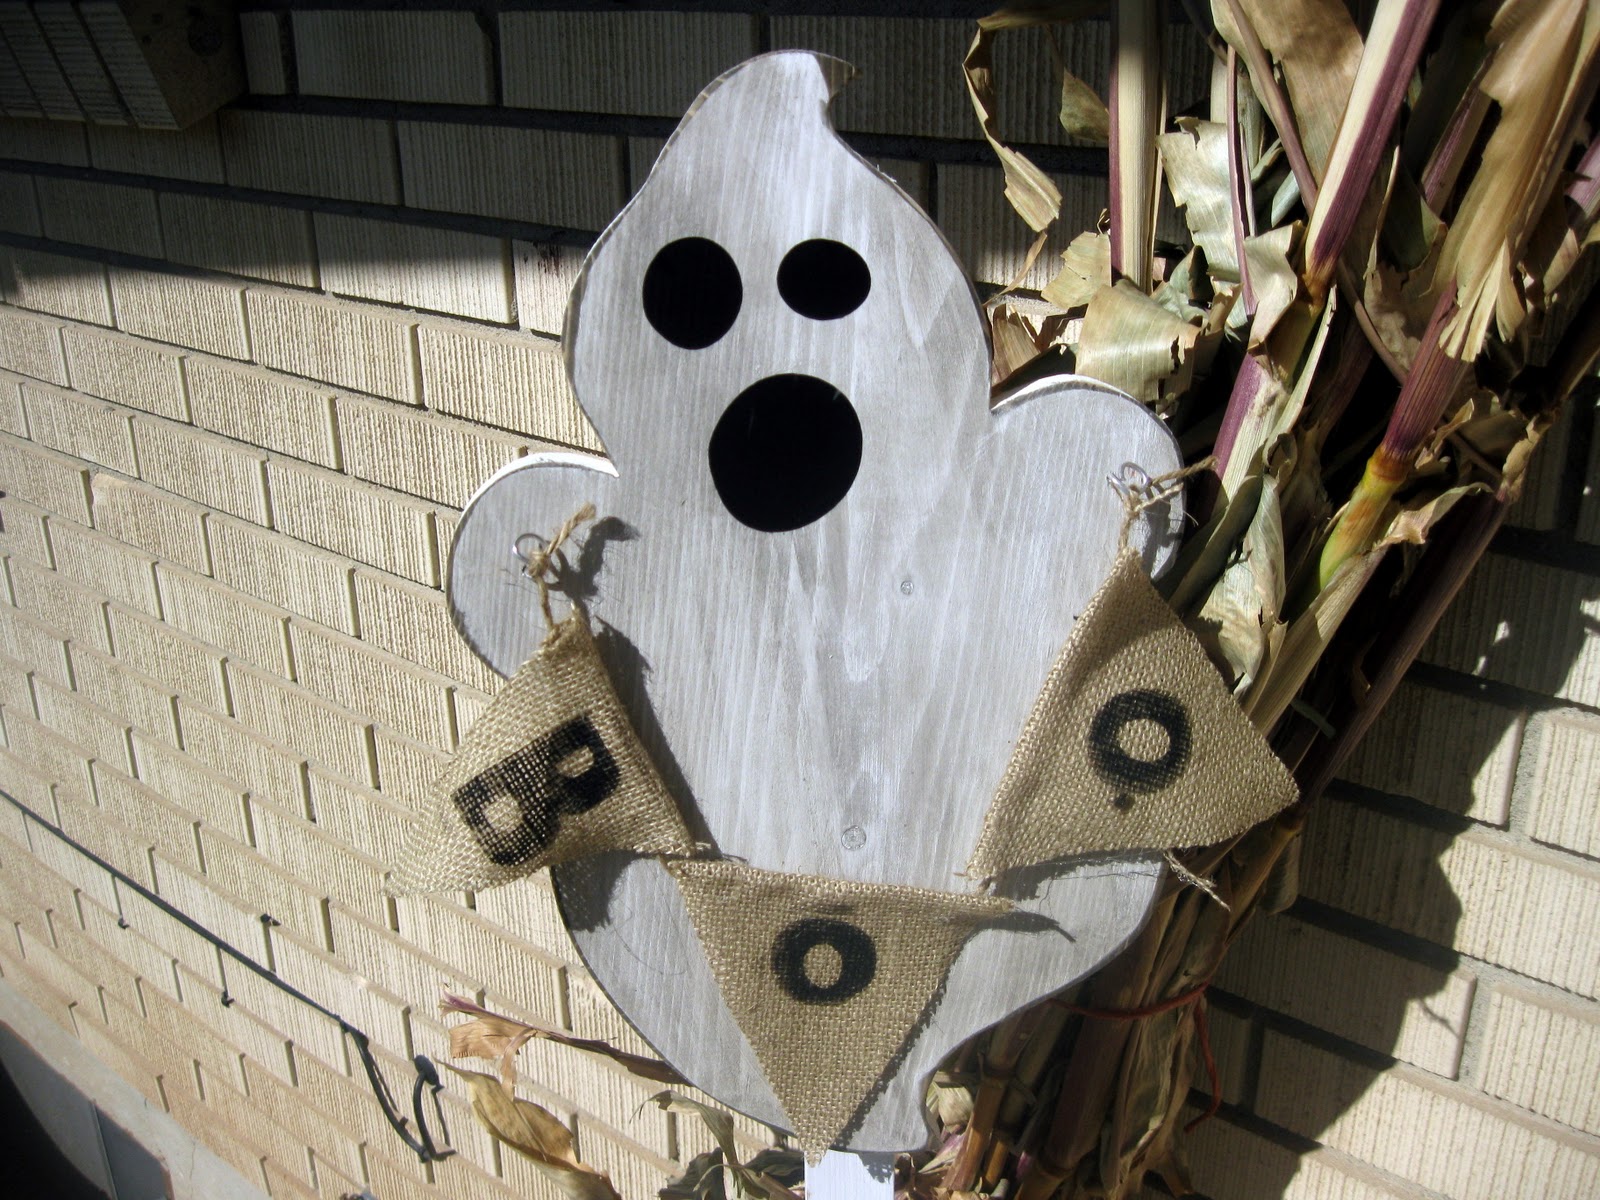
I love my little ghost.
I got him at Wood Creations.
But I added his little 'BOO' banner of course!
And I think I am about done with Halloween.
Next up is Fall decor!!!
If you would like to see where I link up click HERE

LinkWithin

Related Posts Plugin for WordPress, Blogger...